The motivation behind this was to recreate a feature of Melissa’s aunts security system. Mel always liked that the doors in her aunts house all triggered a chime to play in the house when they were opened. This is a small feature of their alarm system and should be fairly easy to re-create with Home Assistant. It’s broken up into 5 parts:
- Door Sensors – Hardware
- Door Sensors – Software
- Speaker – Hardware
- Speaker – Software
- Automation – Sensor to Speaker
Door Sensors
Hardware
Bill Of Material (BOM):
Terminal Blocks – Pack of 100
Breadboard and Pi interface – Optional, but makes life a little easier if you ever need to move the setup
330 Ohm Resistors – I already had these laying around, but the ones in this link should work fine.
Magnetic Sensors – Includes a sensor and a magnet
Sensors – Input Side
When we were building my house, we opted to get it pre-wired for an alarm system. I had no intention of paying for an alarm system, but I figured it would be cheaper to have it done during construction than to figure it out after. I figured this would include the sensors, but apparently it was litterally just the wiring:

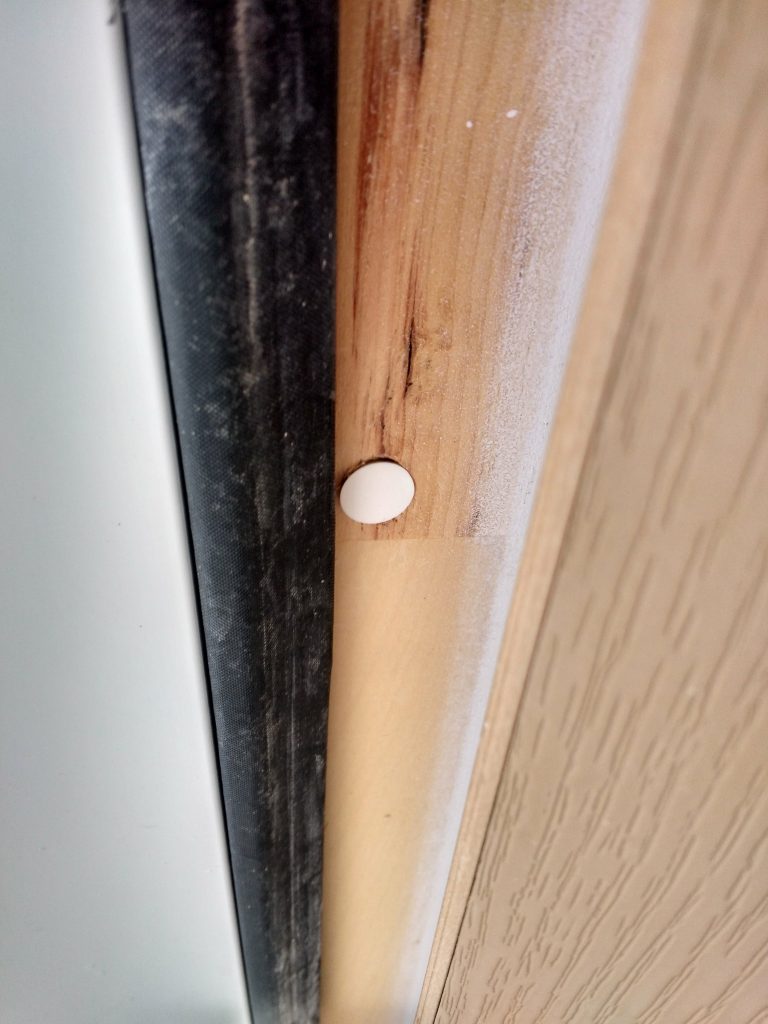
There is a bundle of these wires coming out near the electrical panel in the basement that snake all over the house like this one. These sensors are normally open switches, which means that the circuit is open until the magnet comes close to the sensor, at which point the circuit is closed. Here is another door after the sensor was installed.
Sensors – Output Side
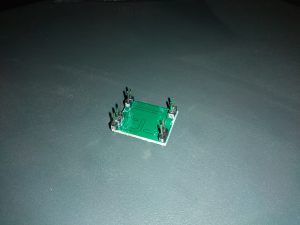
I isolated the 3 wires that came from each door and dropped them into these terminal blocks. One side of the sensor was wired to ground (the blue wires below). The other side of the sensor was wired to two things. First, it was wired to the GPIO pins on the Pi. This is technically enough to work, but the GPIOs don’t always flip between on and off with the magnet. This is because of how 3.3V logic works, there is a threshold between 0.8V and 2.0V where the GPIOs aren’t sure if it should treat it as on or off. With just the path to ground and the path to the GPIO, opening the circuit by removing the magnet doesn’t always bring the GPIO back above 2.0V to register an On value. To fix this, we include a pull-up resistor on the same wire as the GPIO. This way, when the circuit is open and there isn’t a path straight to ground, the GPIO will have a path to the 3,3V rail and register as On. When the circuit is closed, electricity would rather take the path directly to ground rather than flow through the resistor, so the GPIO registers as Off.
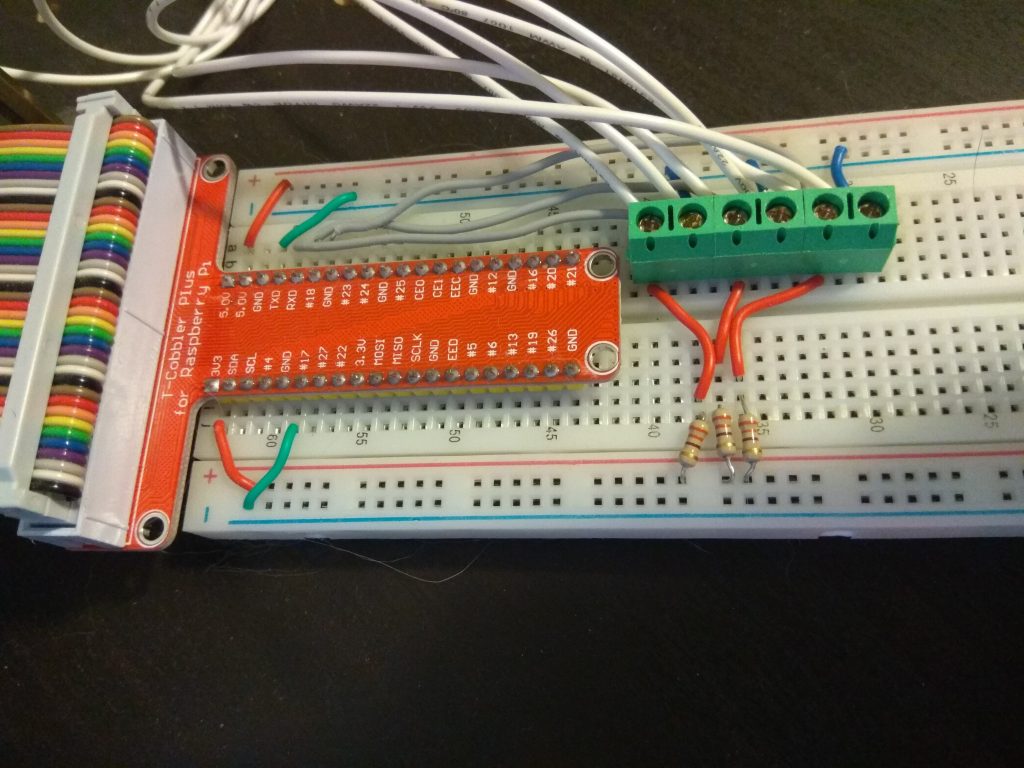
GPIO Pins 14 (TX), 15 (RX), and 18
Software
There isn’t a lot that we need to do to get these sensors working with HA. The Pis GPIO have their own platform as a binary_sensor which are referenced by their ‘ports’ or GPIO pin number. We’ll add the following the to configuration.yaml file:
binary_sensor:
- platform: rpi_gpio
sensor_class: "opening"
ports:
14: Mudroom Door
15: Front Door
18: Back Door
Before we restart HA, we might as well add these sensors to a view in the groups.yaml file so that we can more easily test them. First make a card for them:
door_card:
view: no
name: Doors
entities:
- binary_sensor.front_door
- binary_sensor.mudroom_door
- binary_sensor.back_door
And then add that card to the default view:
default_view:
view: yes
entities:
- sun.sun
- sensor.yr_symbol
- group.main_level_card
- group.master_bedroom_card
- sensor.uptime
- sensor.moon
- updater.updater
- group.door_card
This ends up with a card that looks like this:
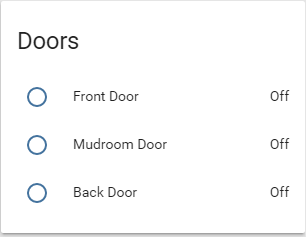
On and Off states are a little confusing when refering to a door. We can customize these sensors by defining their device class in the customize.yaml file. This way HA knows that they’re associated with something that opens and closes, rather than turns on and off:
binary_sensor.front_door:
device_class: opening
binary_sensor.mudroom_door:
device_class: opening
binary_sensor.back_door:
device_class: opening
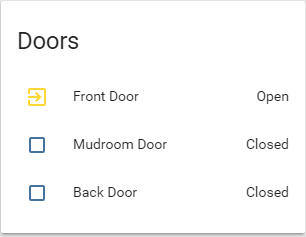
Now are card looks like this, which looks a lot more intuitive.
Speakers
Hardware
Bill Of Material (BOM):
Speakers – Pack of 2
Audio Amp – Pack of 10 CCAs
Micro USB breakout board – Pack of 5 CCAs
Connectors – Pack of 10 paired connectors with leads
Terminal Blocks – Pack of 100
Breadboard and Pi interface – Optional, but makes life a little easier if you ever need to move the setup
Headers – Pack of 10, 40 pins each
Speaker – Input Side
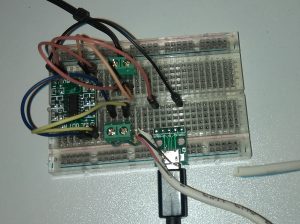
First step is to solder some headers onto an audio amp CCA. For now it’ll live in a breadboard and some jumper wires. I’d like the spin up a more permanent PCB to mount this to sometime, but a breadboard will do for now.
For the audio input, I cut the end off of a pair of dead headphones and put the ends into terminal blocks.
For power, I soldered leads onto the micro USB breakout board and plugged it into the breadboard and wired it to the amp.
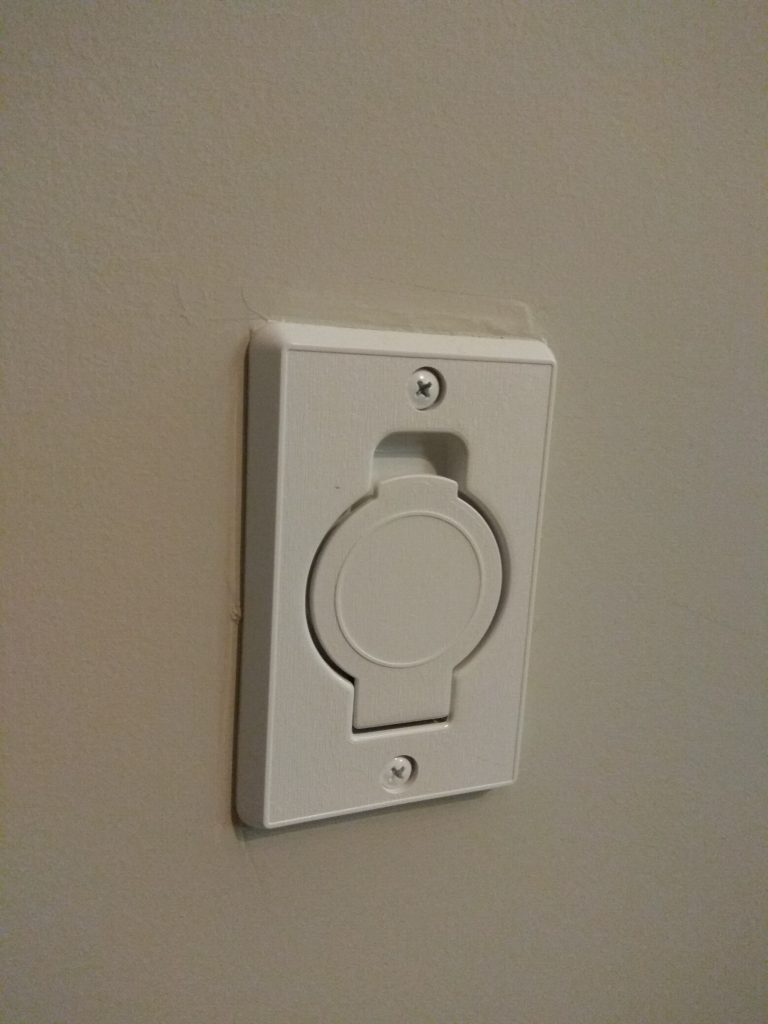
The last part is the output to the speaker. I added more terminal blocks to the breadboard and wired them to the amps output. Now as I eluded to in the door sensor section, all of the pre wiring goes to a central location in the basement. This isn’t an ideal location for a speaker. Most new houses come with wiring and panels for a central vacuum system. I have a few cheap roombas doing my vacuuming, so I don’t ever foresee the need for these panels or this wiring, so I’m going to repurpose it for my home automation system. In this case, I’ll be mounting the speaker up stairs where the main central vacuum panel is, and using it’s wiring to power and drive the speaker.
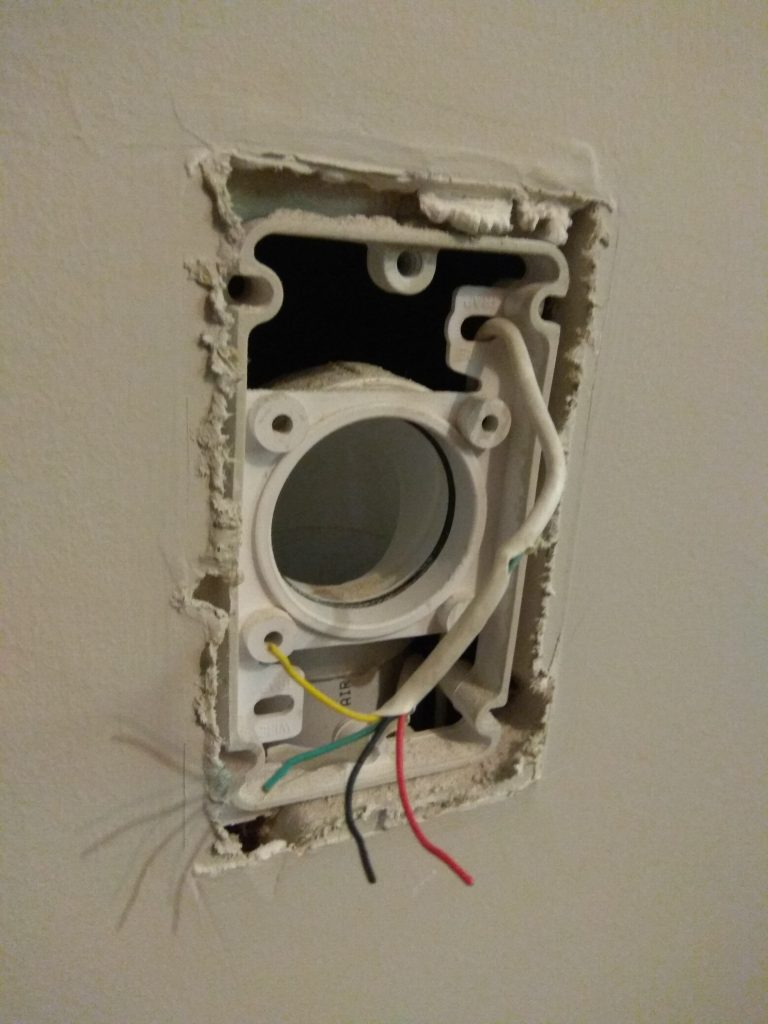
I traced these wires back to the basement and hooked them into the terminal blocks.
Speaker – Output Side
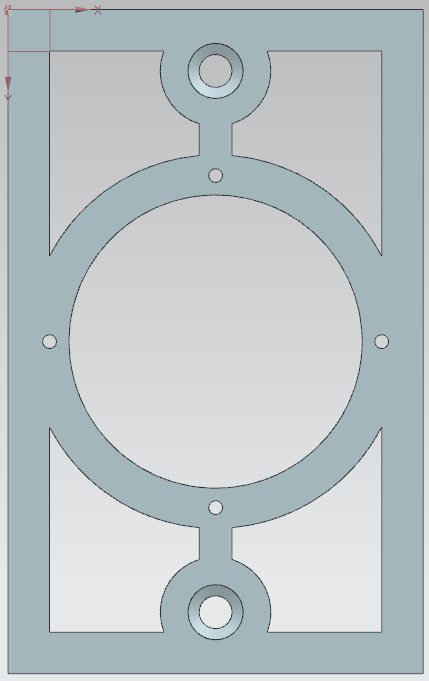
Mounting the speaker in place of the central vacuum hook up went through a few iterations, but really took off once I get my 3D printer. I designed the speaker side in two parts;
A mount:
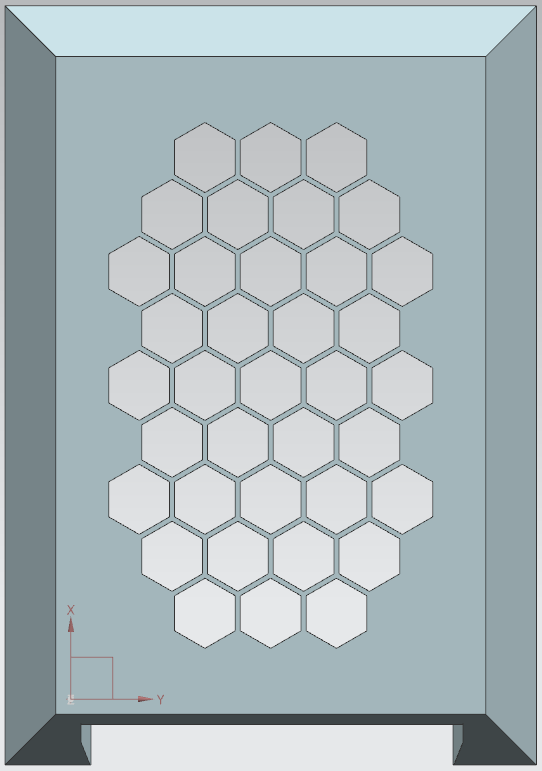
A cover:
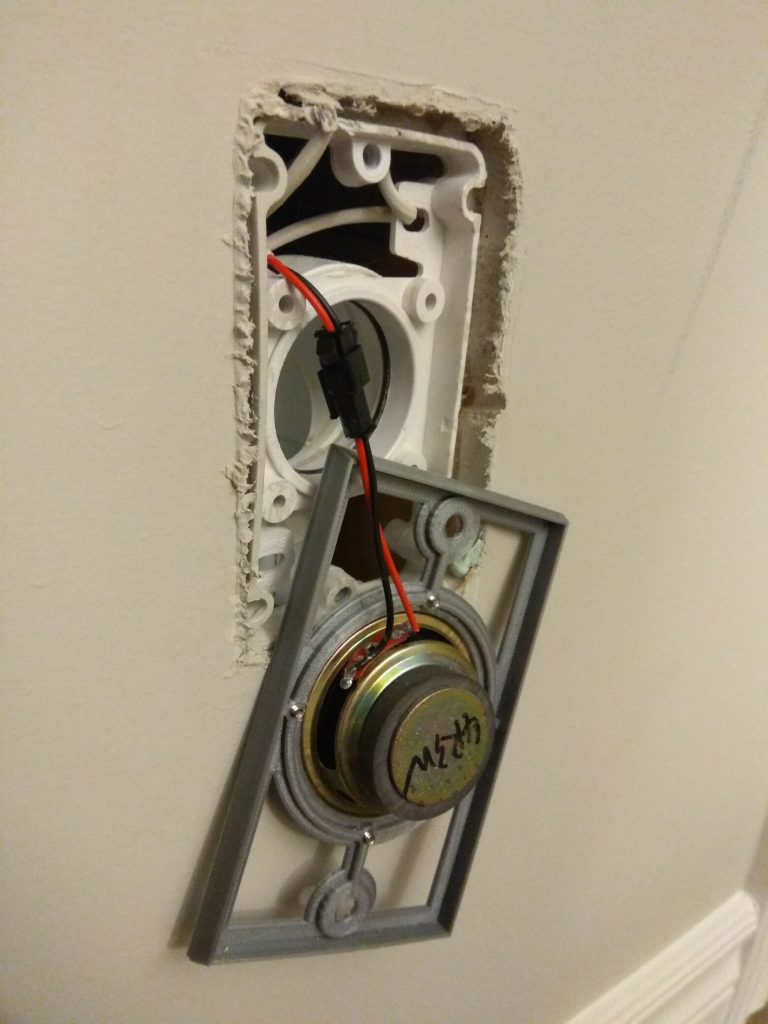
I spliced the wired connectors from the BOM into the central vacuum wires with the mating side soldered to a speaker and screwed the speaker into the mount printed in silver PLA:
The cover in wood PLA:
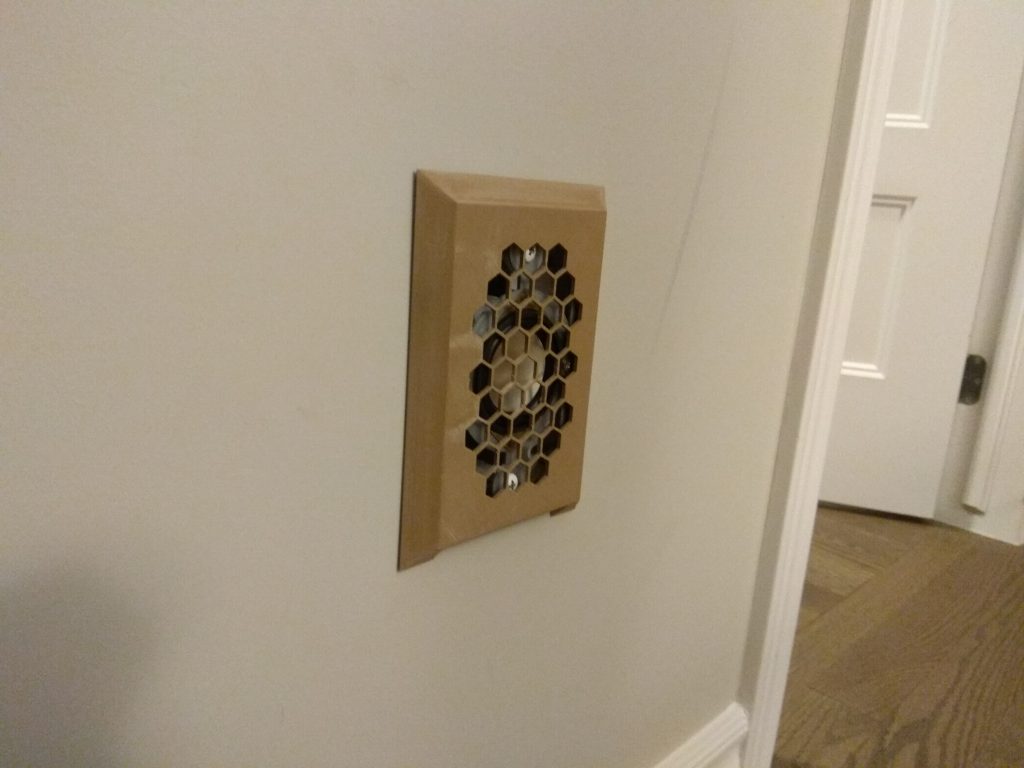
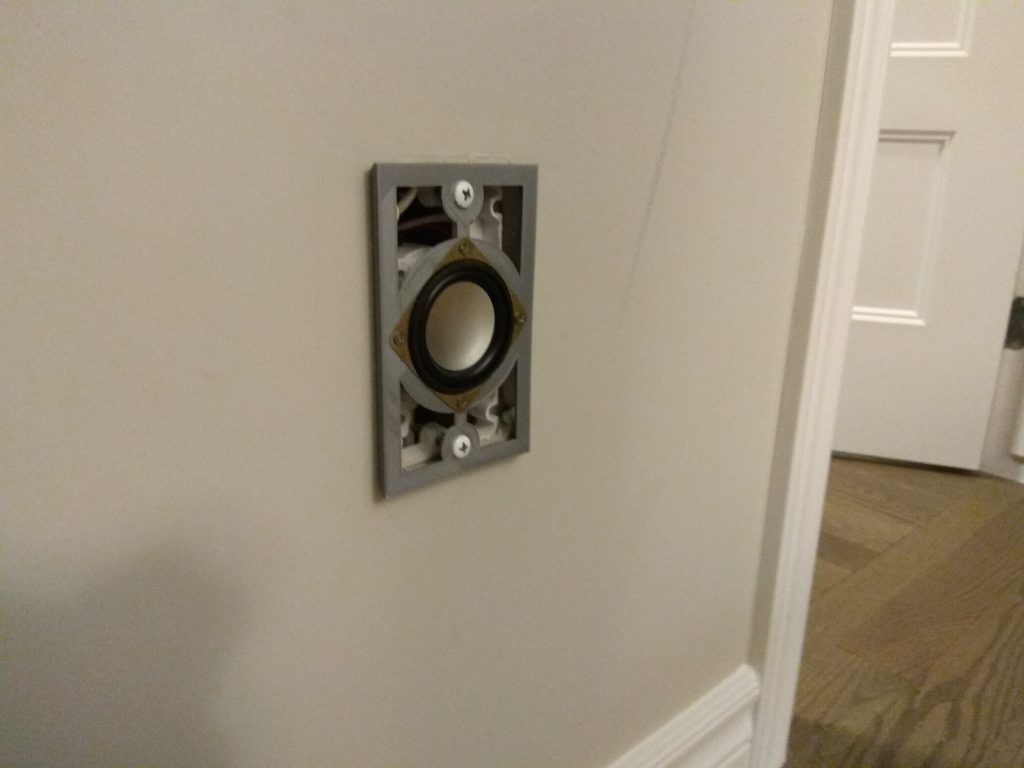
And an animation of them fitting together:
Binx helping me install the cover 🙂
Software
For my notification sound, I’m using R2D2s whistle that I found as a .wav file on the sound archive.
Before we download the file, let’s give it a dedicated sub-directory within the home assistant folder structure:
sudo mkdir /home/homeassistant/.homeassistant/sounds
Now we use wget to download the sound file we want (the following is a single command):
sudo wget -O /home/homeassistant/.homeassistant/sounds/R2D2.wav http://www.thesoundarchive.com/starwars/R2D2-hey-you.wav
You can test that this worked by plugging headphones into the Pi and using the following command:
aplay /home/homeassistant/.homeassistant/sounds/R2D2.wav
You might hear static the first time, run it again and it should work with no sound artifacts.
To give HA the ability to play this file, we need to give it access to the 3.5mm aux port:
sudo usermod -a -G audio homeassistant
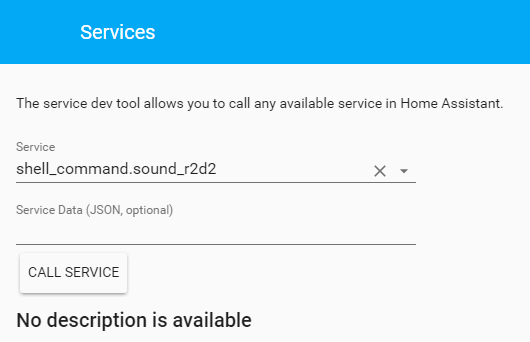
And then give it a way to play the file. To do this we’re going to add a shell_command component to the configuration.yaml file:
shell_command:
sound_r2d2: 'usr/bin/aplay /home/homeassistant/.homeassistant/sounds/R2D2.wav'
Restart HA and you should now be able to test this out from the developer tools – services:
Tying It All Together
Whenever a door opens, I want this sound to play. I might eventually add some smarts to this so that it only plays when the alarm is set or something, but for now I don’t plan on needing to sneak out of the house without the wife knowing. This is easily done with an automation:
- id: door_opened_alert
alias: Door Opened Alert
initial_state: True
hide_entity: True
trigger:
- platform: state
entity_id: binary_sensor.mudroom_door
to: 'on'
- platform: state
entity_id: binary_sensor.front_door
to: 'on'
- platform: state
entity_id: binary_sensor.back_door
to: 'on'
action:
- service: shell_command.sound_r2d2
This basically says that anytime any of the 3 doors moves into the ‘on’ state, the R2D2 sound will play. If in the future I want to disable these sounds given a certain state, I can either add a condition to this automation, or just turn the automation off.
Side note: If the volume isn’t right, you can change the setting with the following command:
sudo amixer sset PCM 95%,95%