Again, this is less of a guide to 3D printer than it is documentation on my 3D printing set up. Hopefully it can do both, but that remains to be seen.
For my first (and at the time of writing this, only) 3D printer, I chose the Monoprice Maker Select 3D v2. This is a clone of the Wanhao Duplicator i3, for all intents and purposes they are the same device.
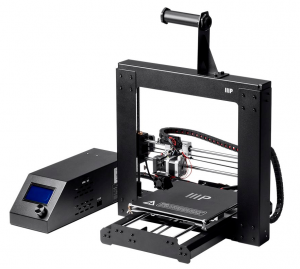
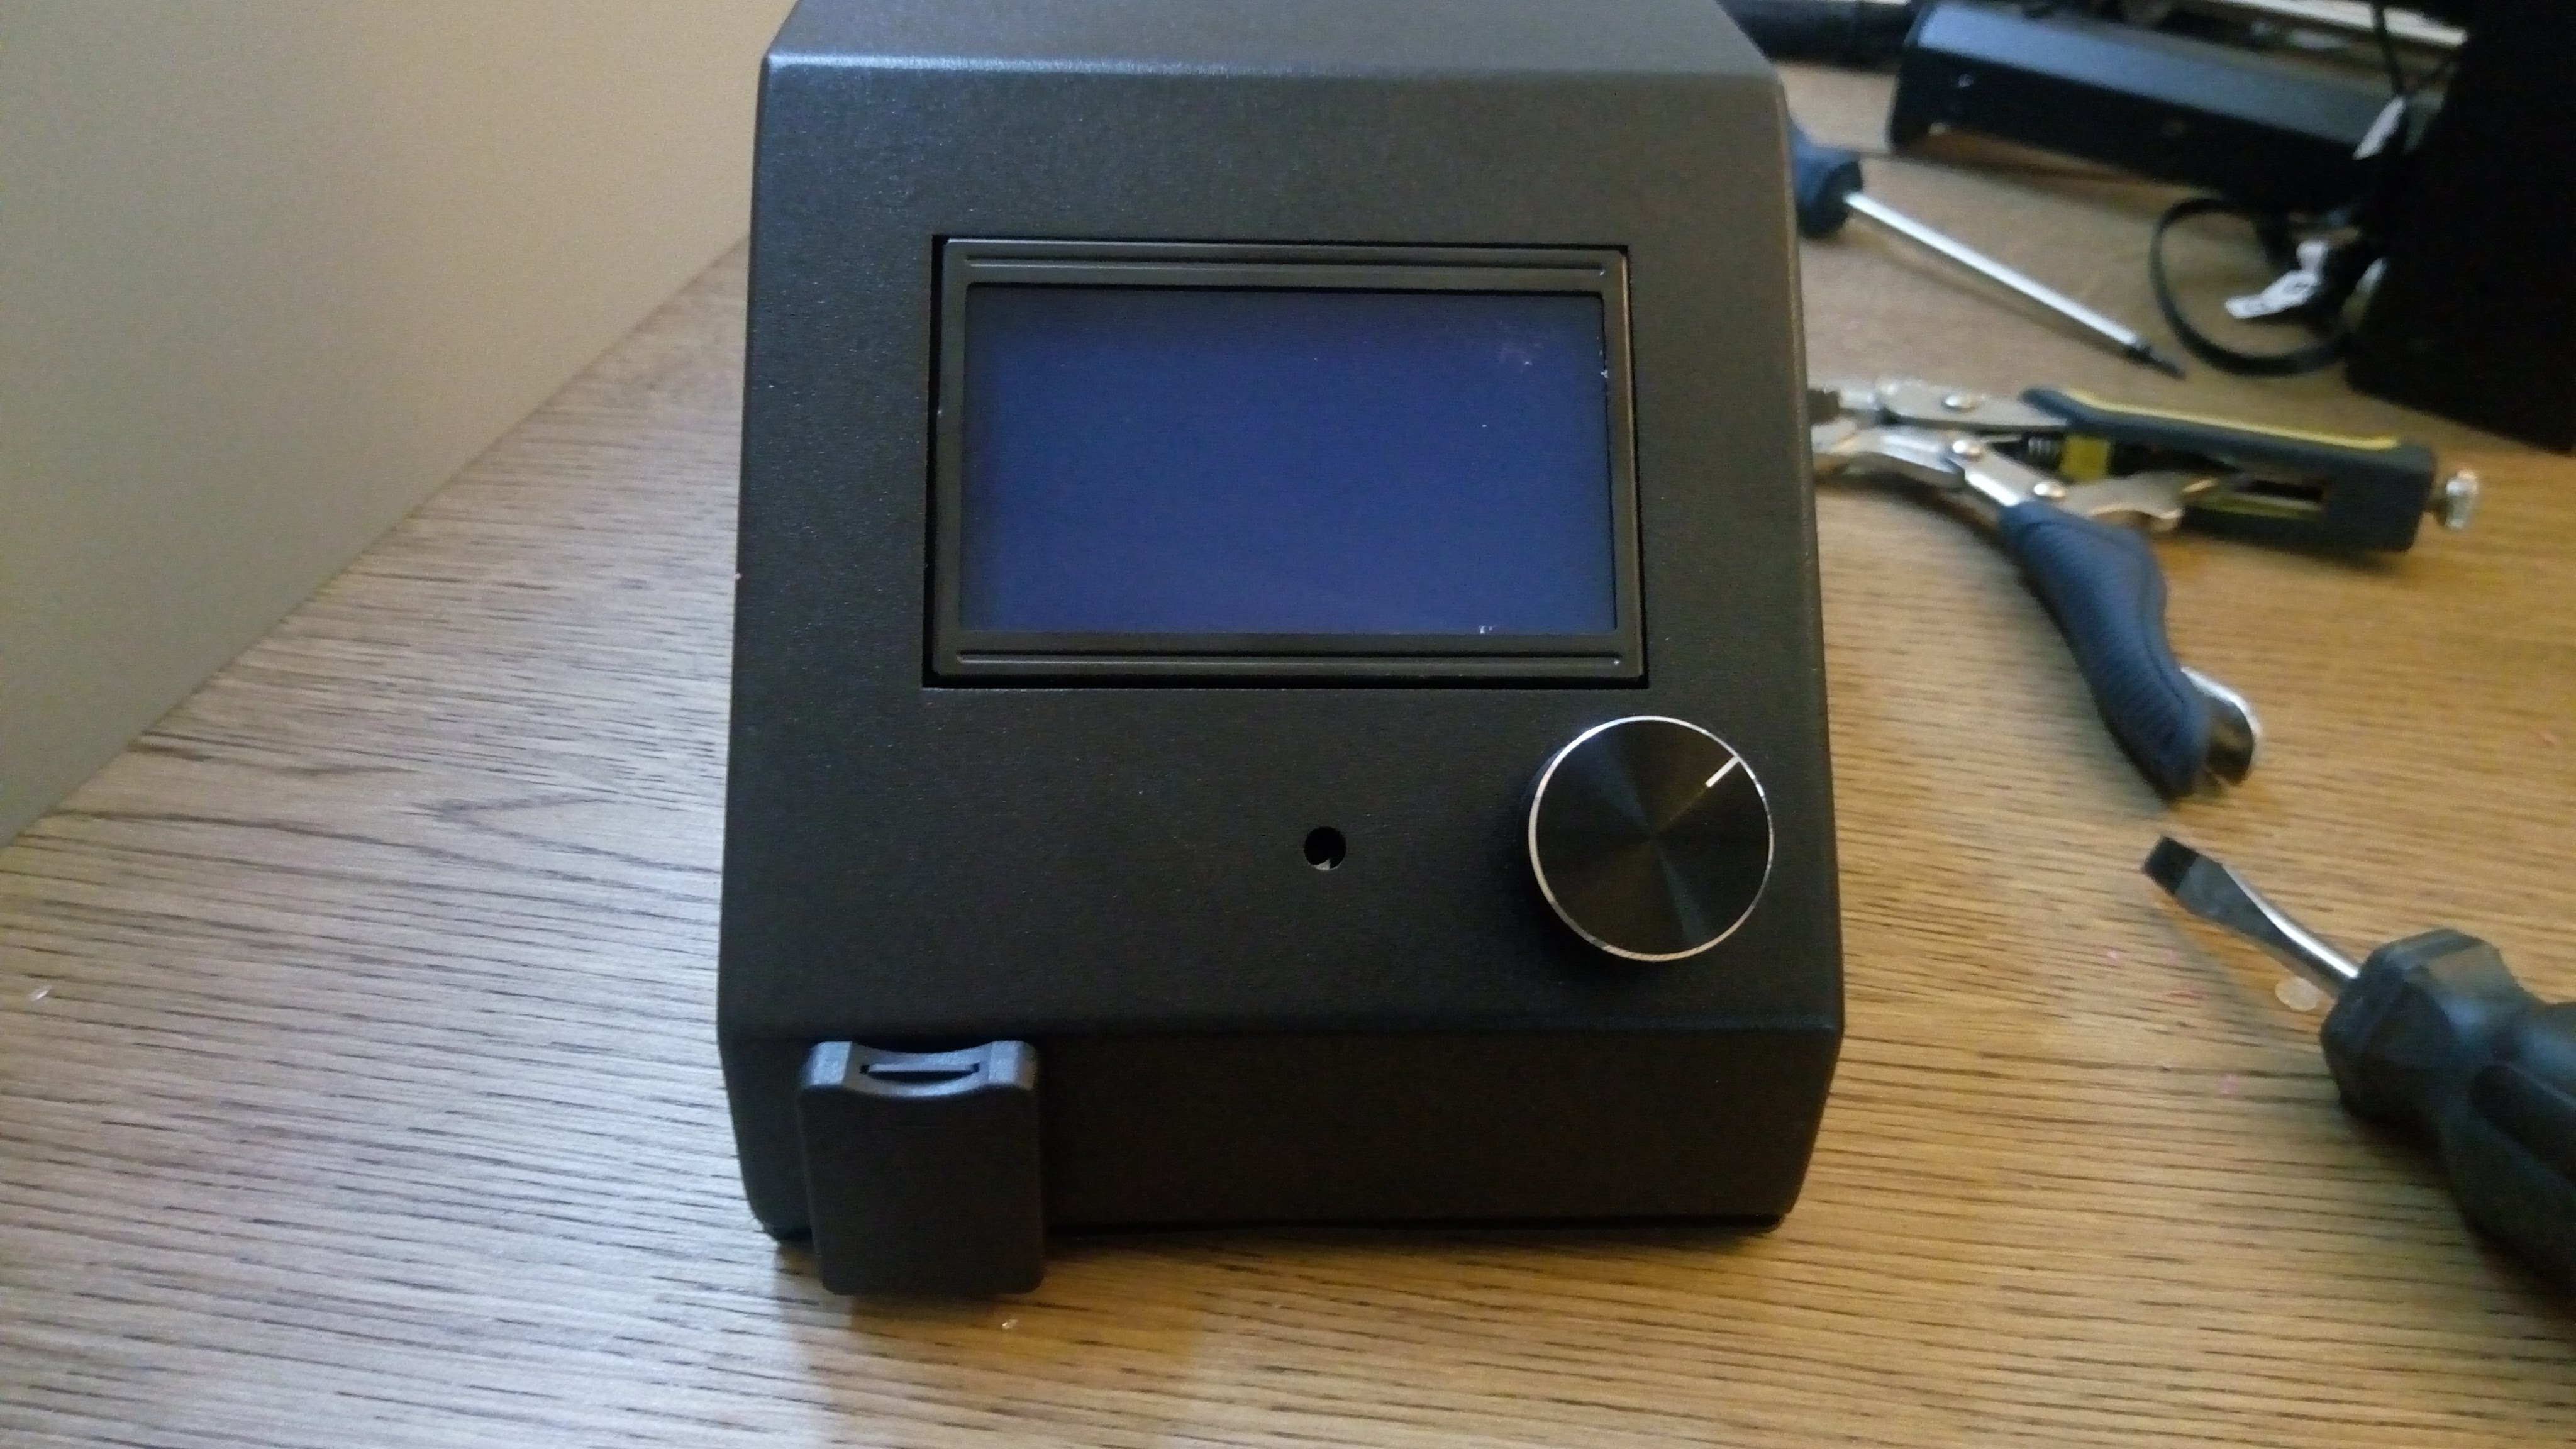
Monoprice Maker Select 3D v2
Out of the box, this printer worked great. There is a ton of information online regarding setting it up and maintaining it, as well as a plethora of upgrade options which are also well documented. The main upgrade that this printer usually (is basically mandatory) gets is the Mosfet mod. This mod is basically adding a new circuit board between the power supply and the bed heater. This is essentially a mandatory upgrade as there are countless cases out in the wild of the CCA inside of the control box catching fire or just melting due to the high current draw of the bed heater. This mod takes these high currents out of the provided CCA, and instead take them through a dedicated CCA that was actually designed for the currents experienced during operation.
I mostly followed this guide but also added a micro SD card slot extension because putting the micro SD card into the side of the case is a pain. To allow room for the extension, I shifted the CCA into the middle of the box which leaves only 2 screws to secure it in place. Because the CCA is no longer beside the control box side, I also added a mini USB cable and routed it out the back of the box. Note, to ensure the bottom of the control box didn’t pinch the extension, I added a thin layer of hot glue between screw holes. It’s just thick enough that the cable is free to slide.
-

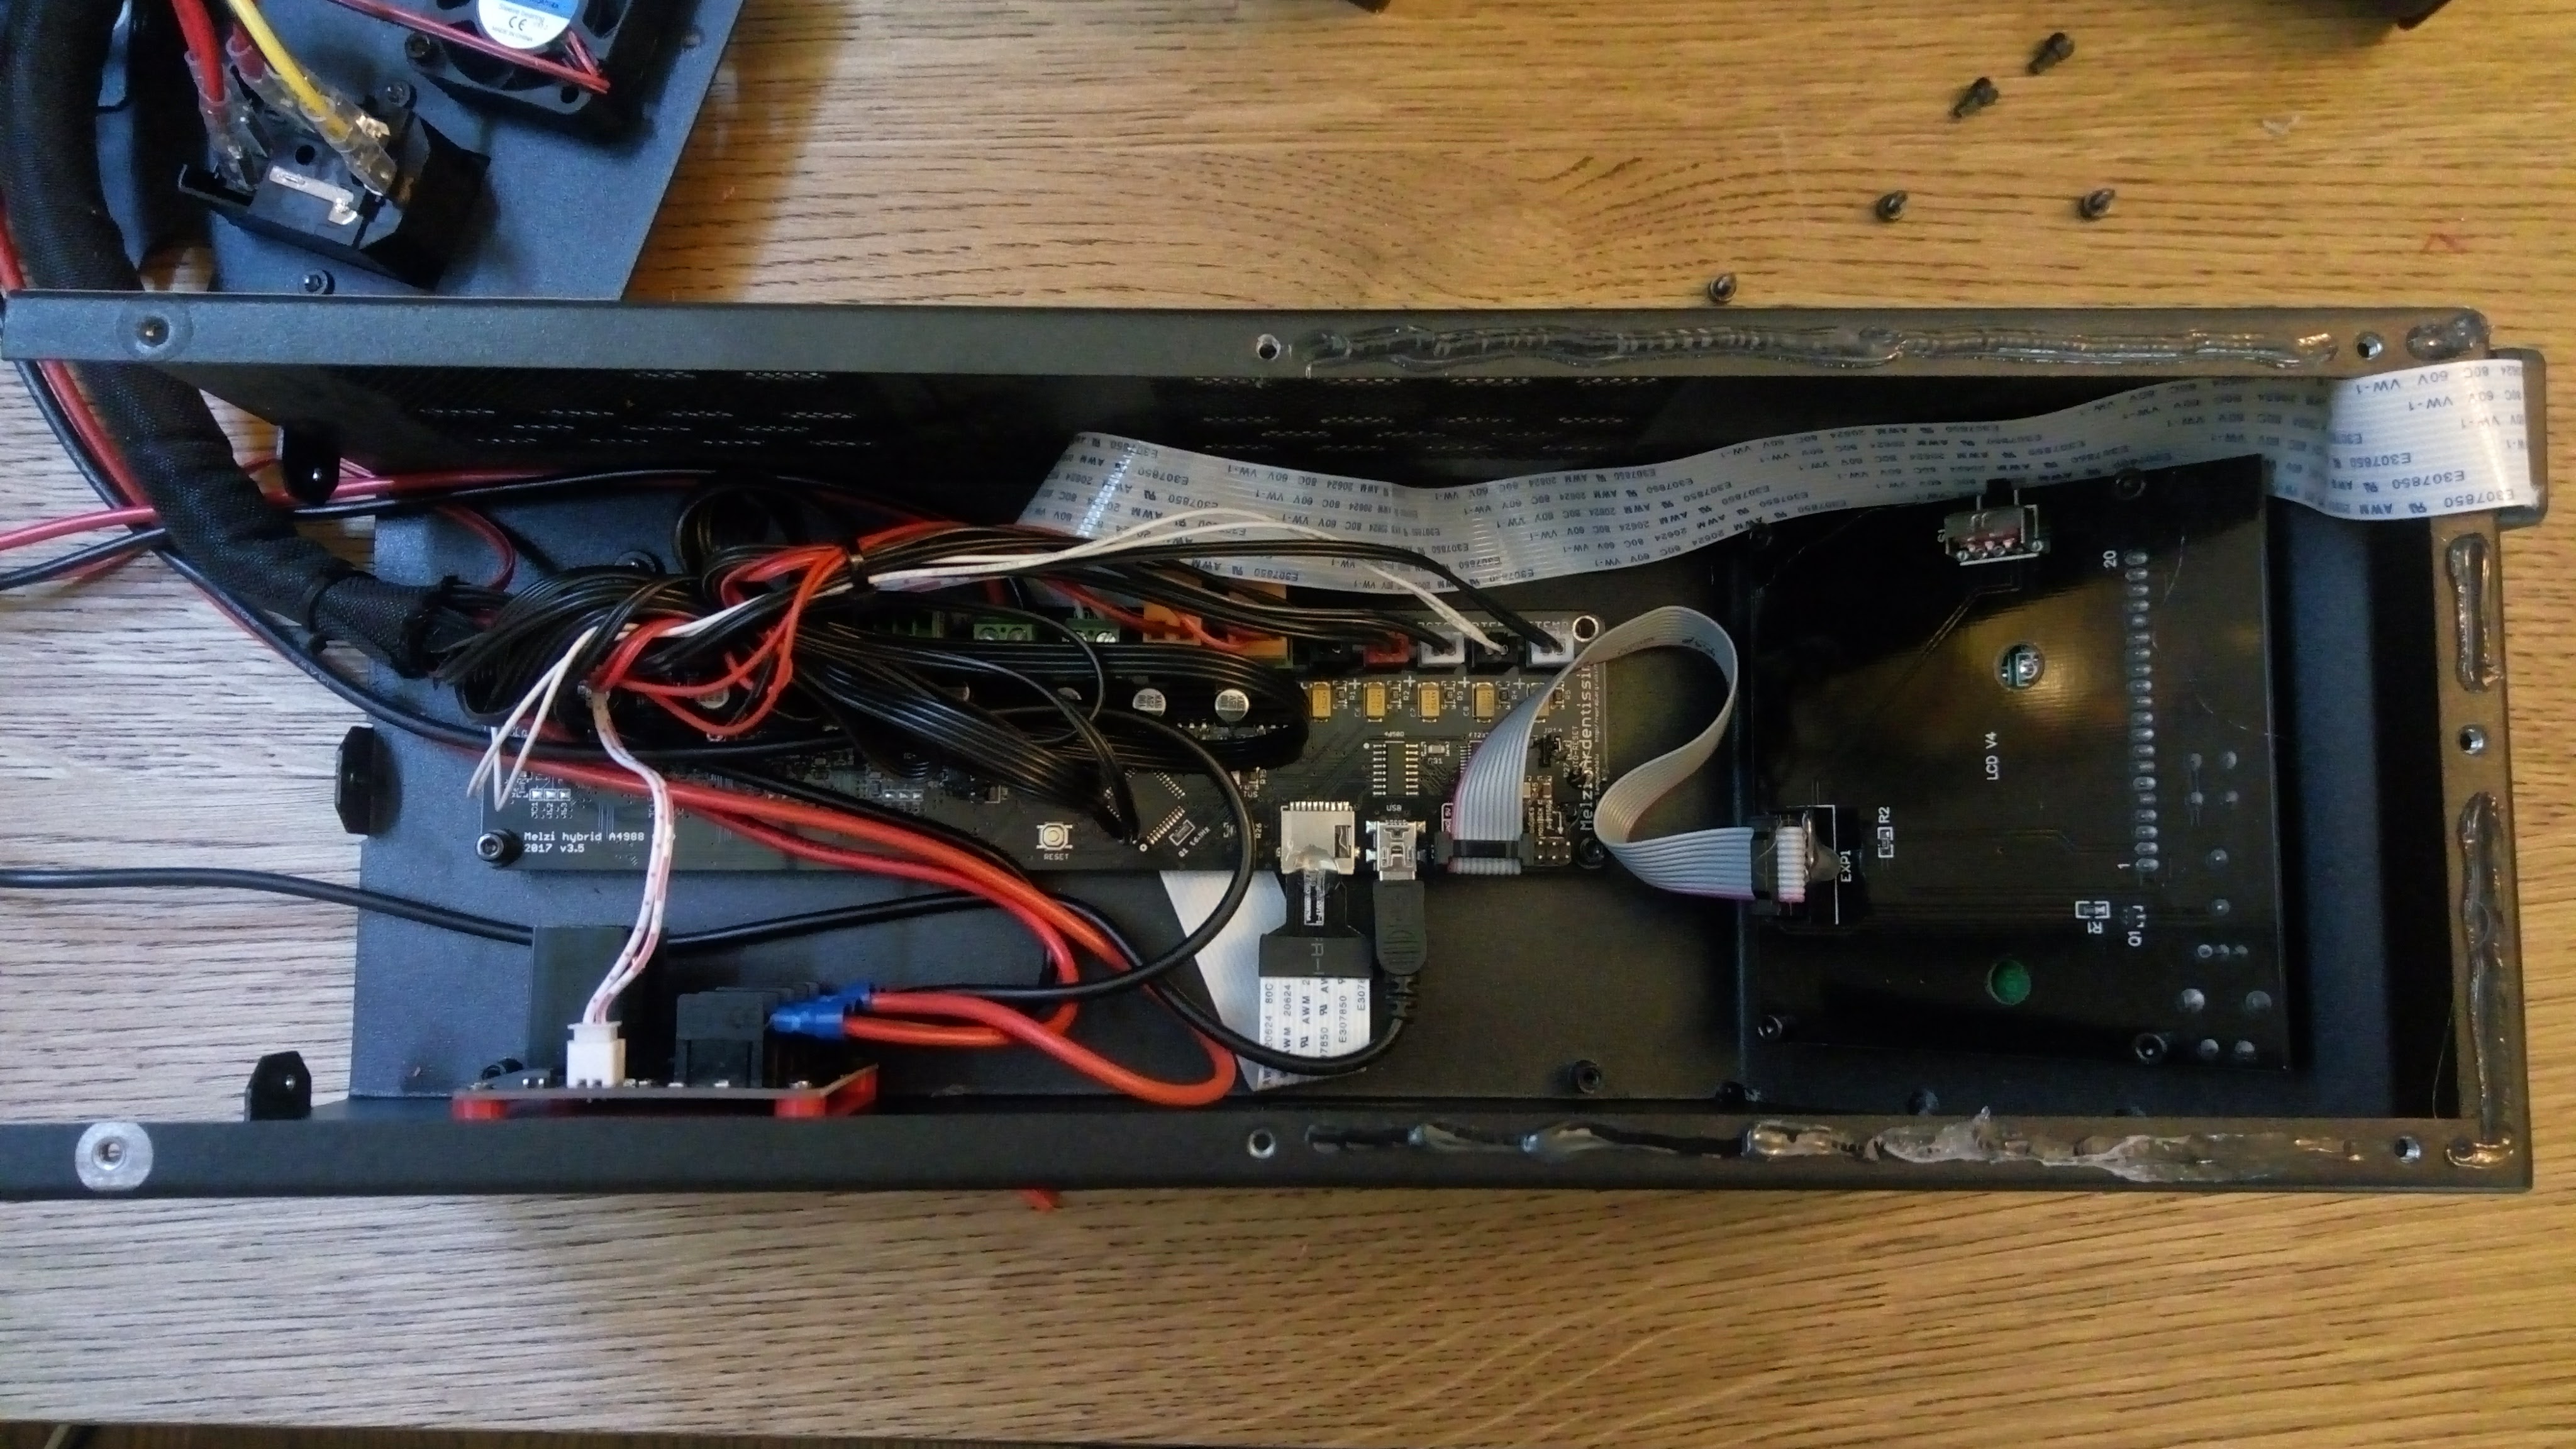
- Control Box with case and back panel removed
-
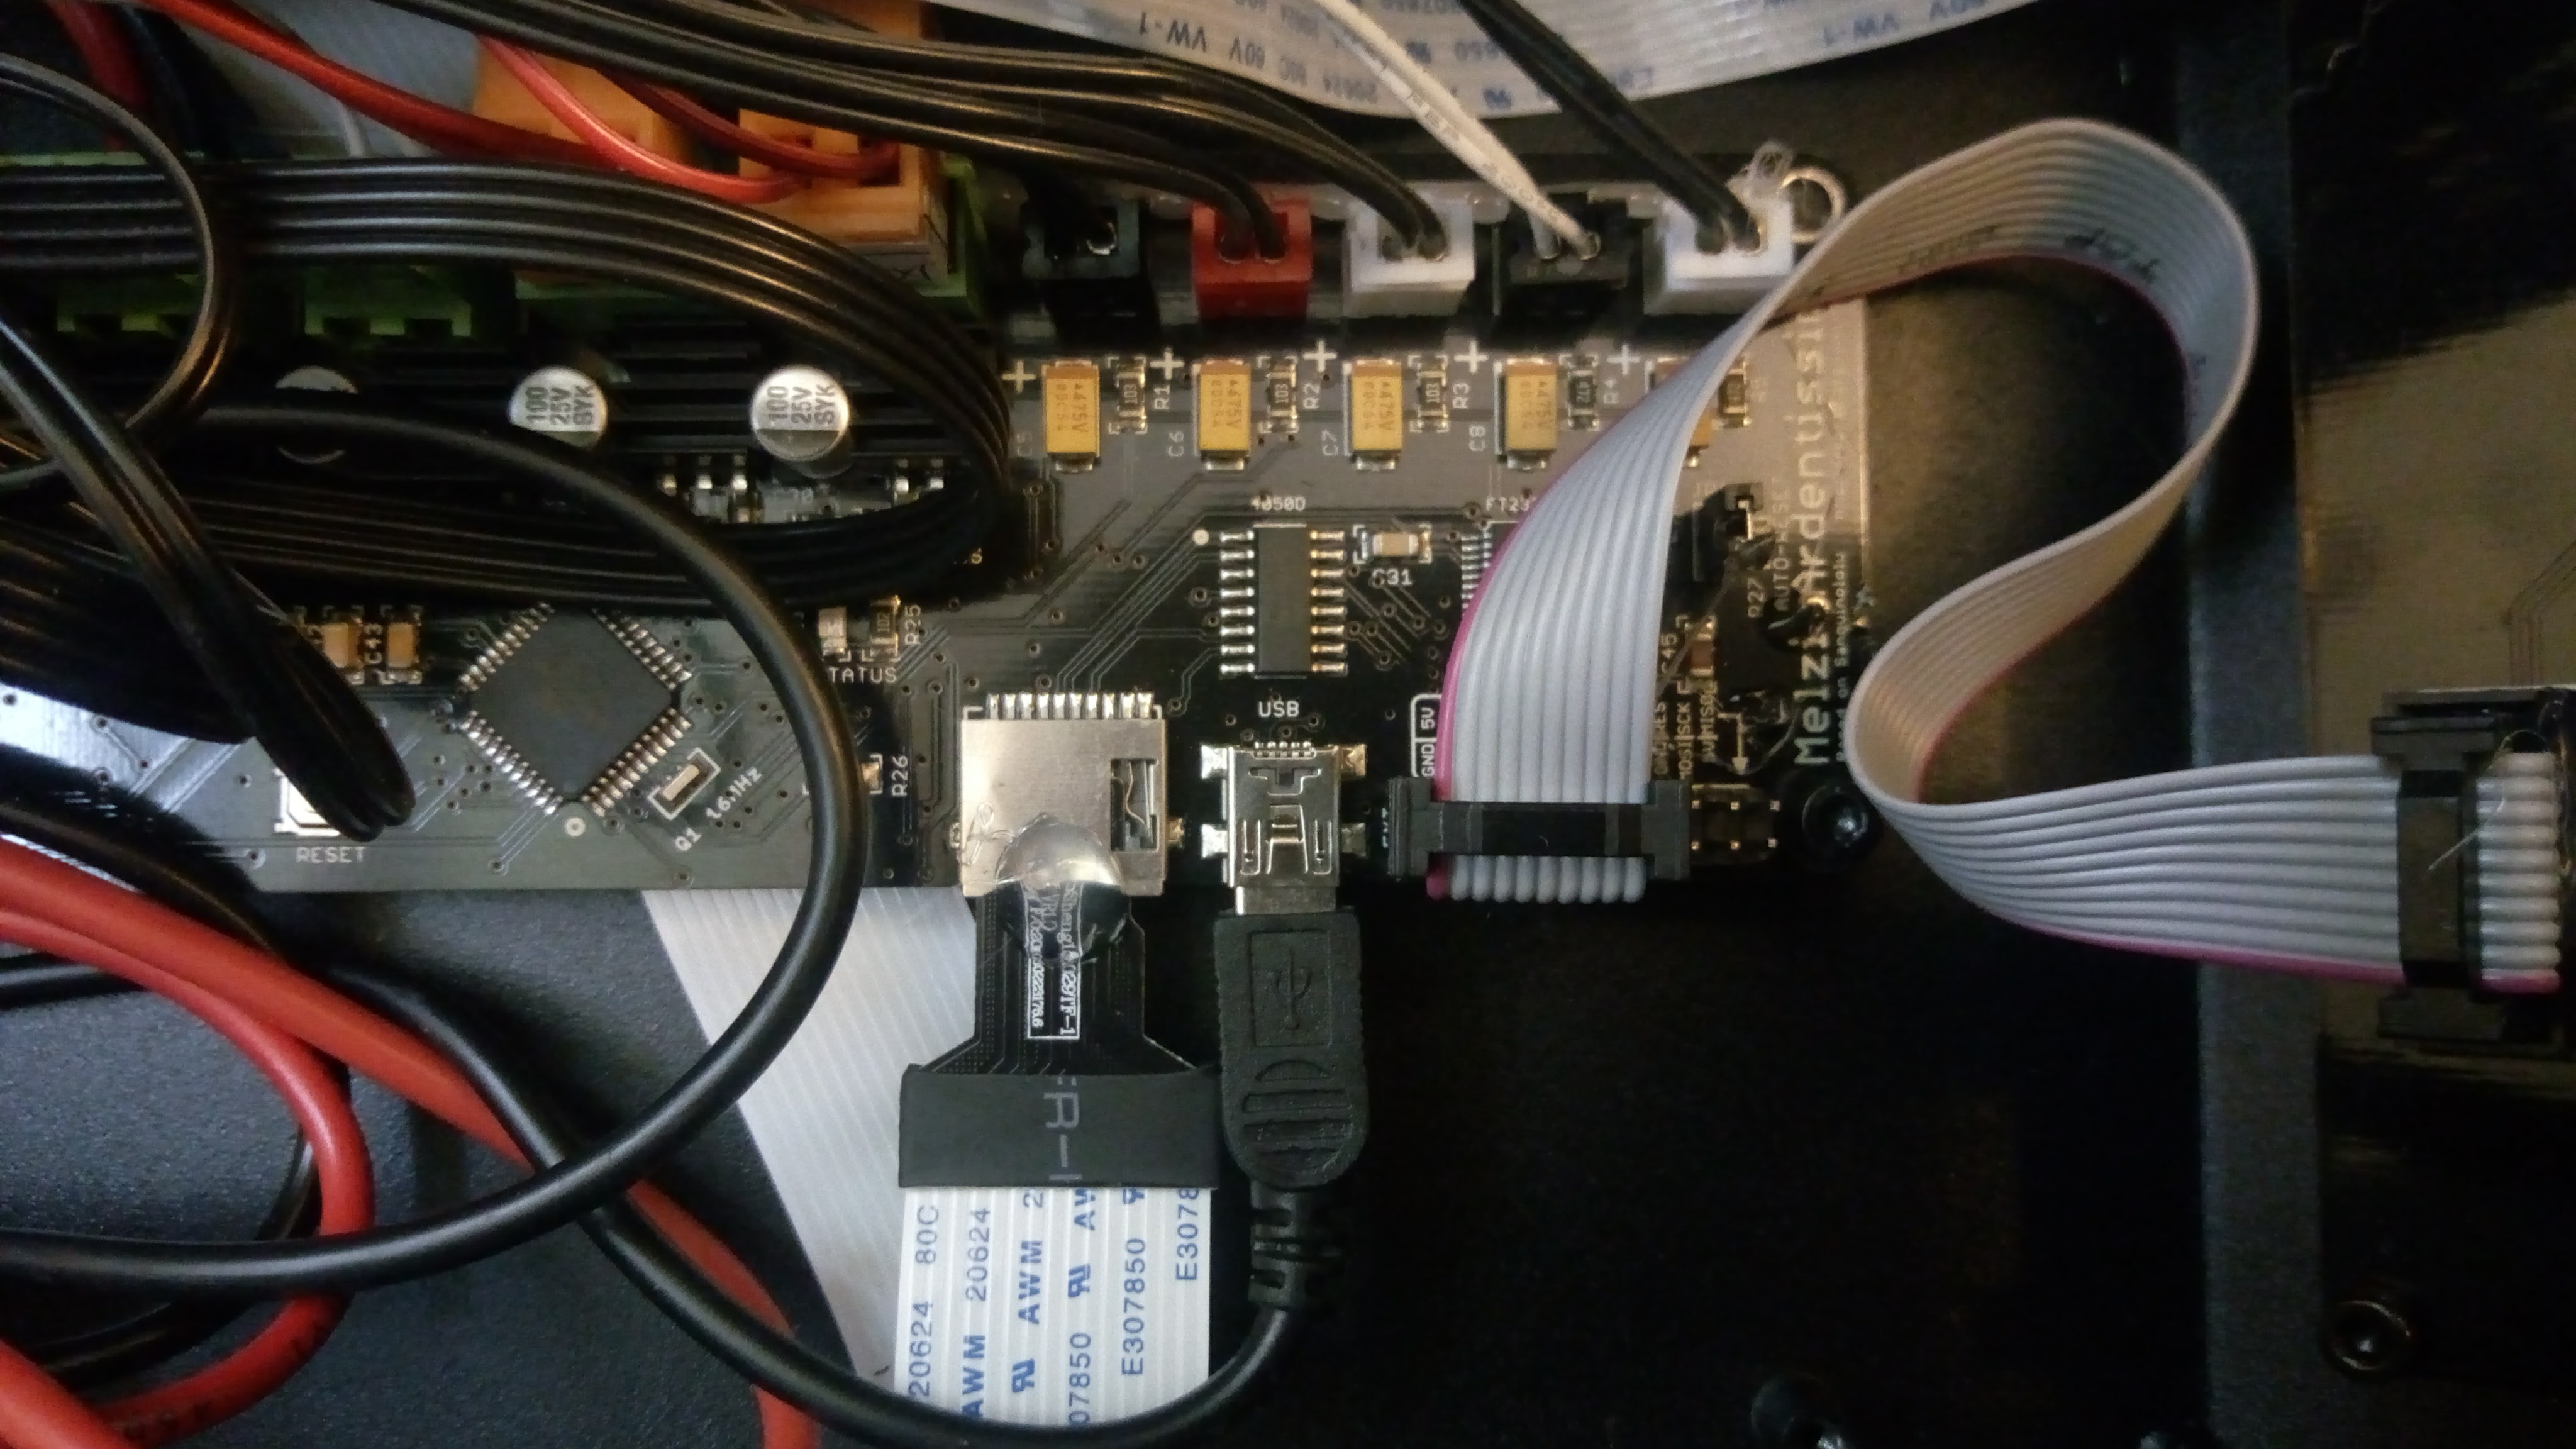
- Close up of Mosfet CCA wired in

-
- Shifted CCA location to give room for SD extension and USB cable
-
- SD slot extension mounted to front of control box
-
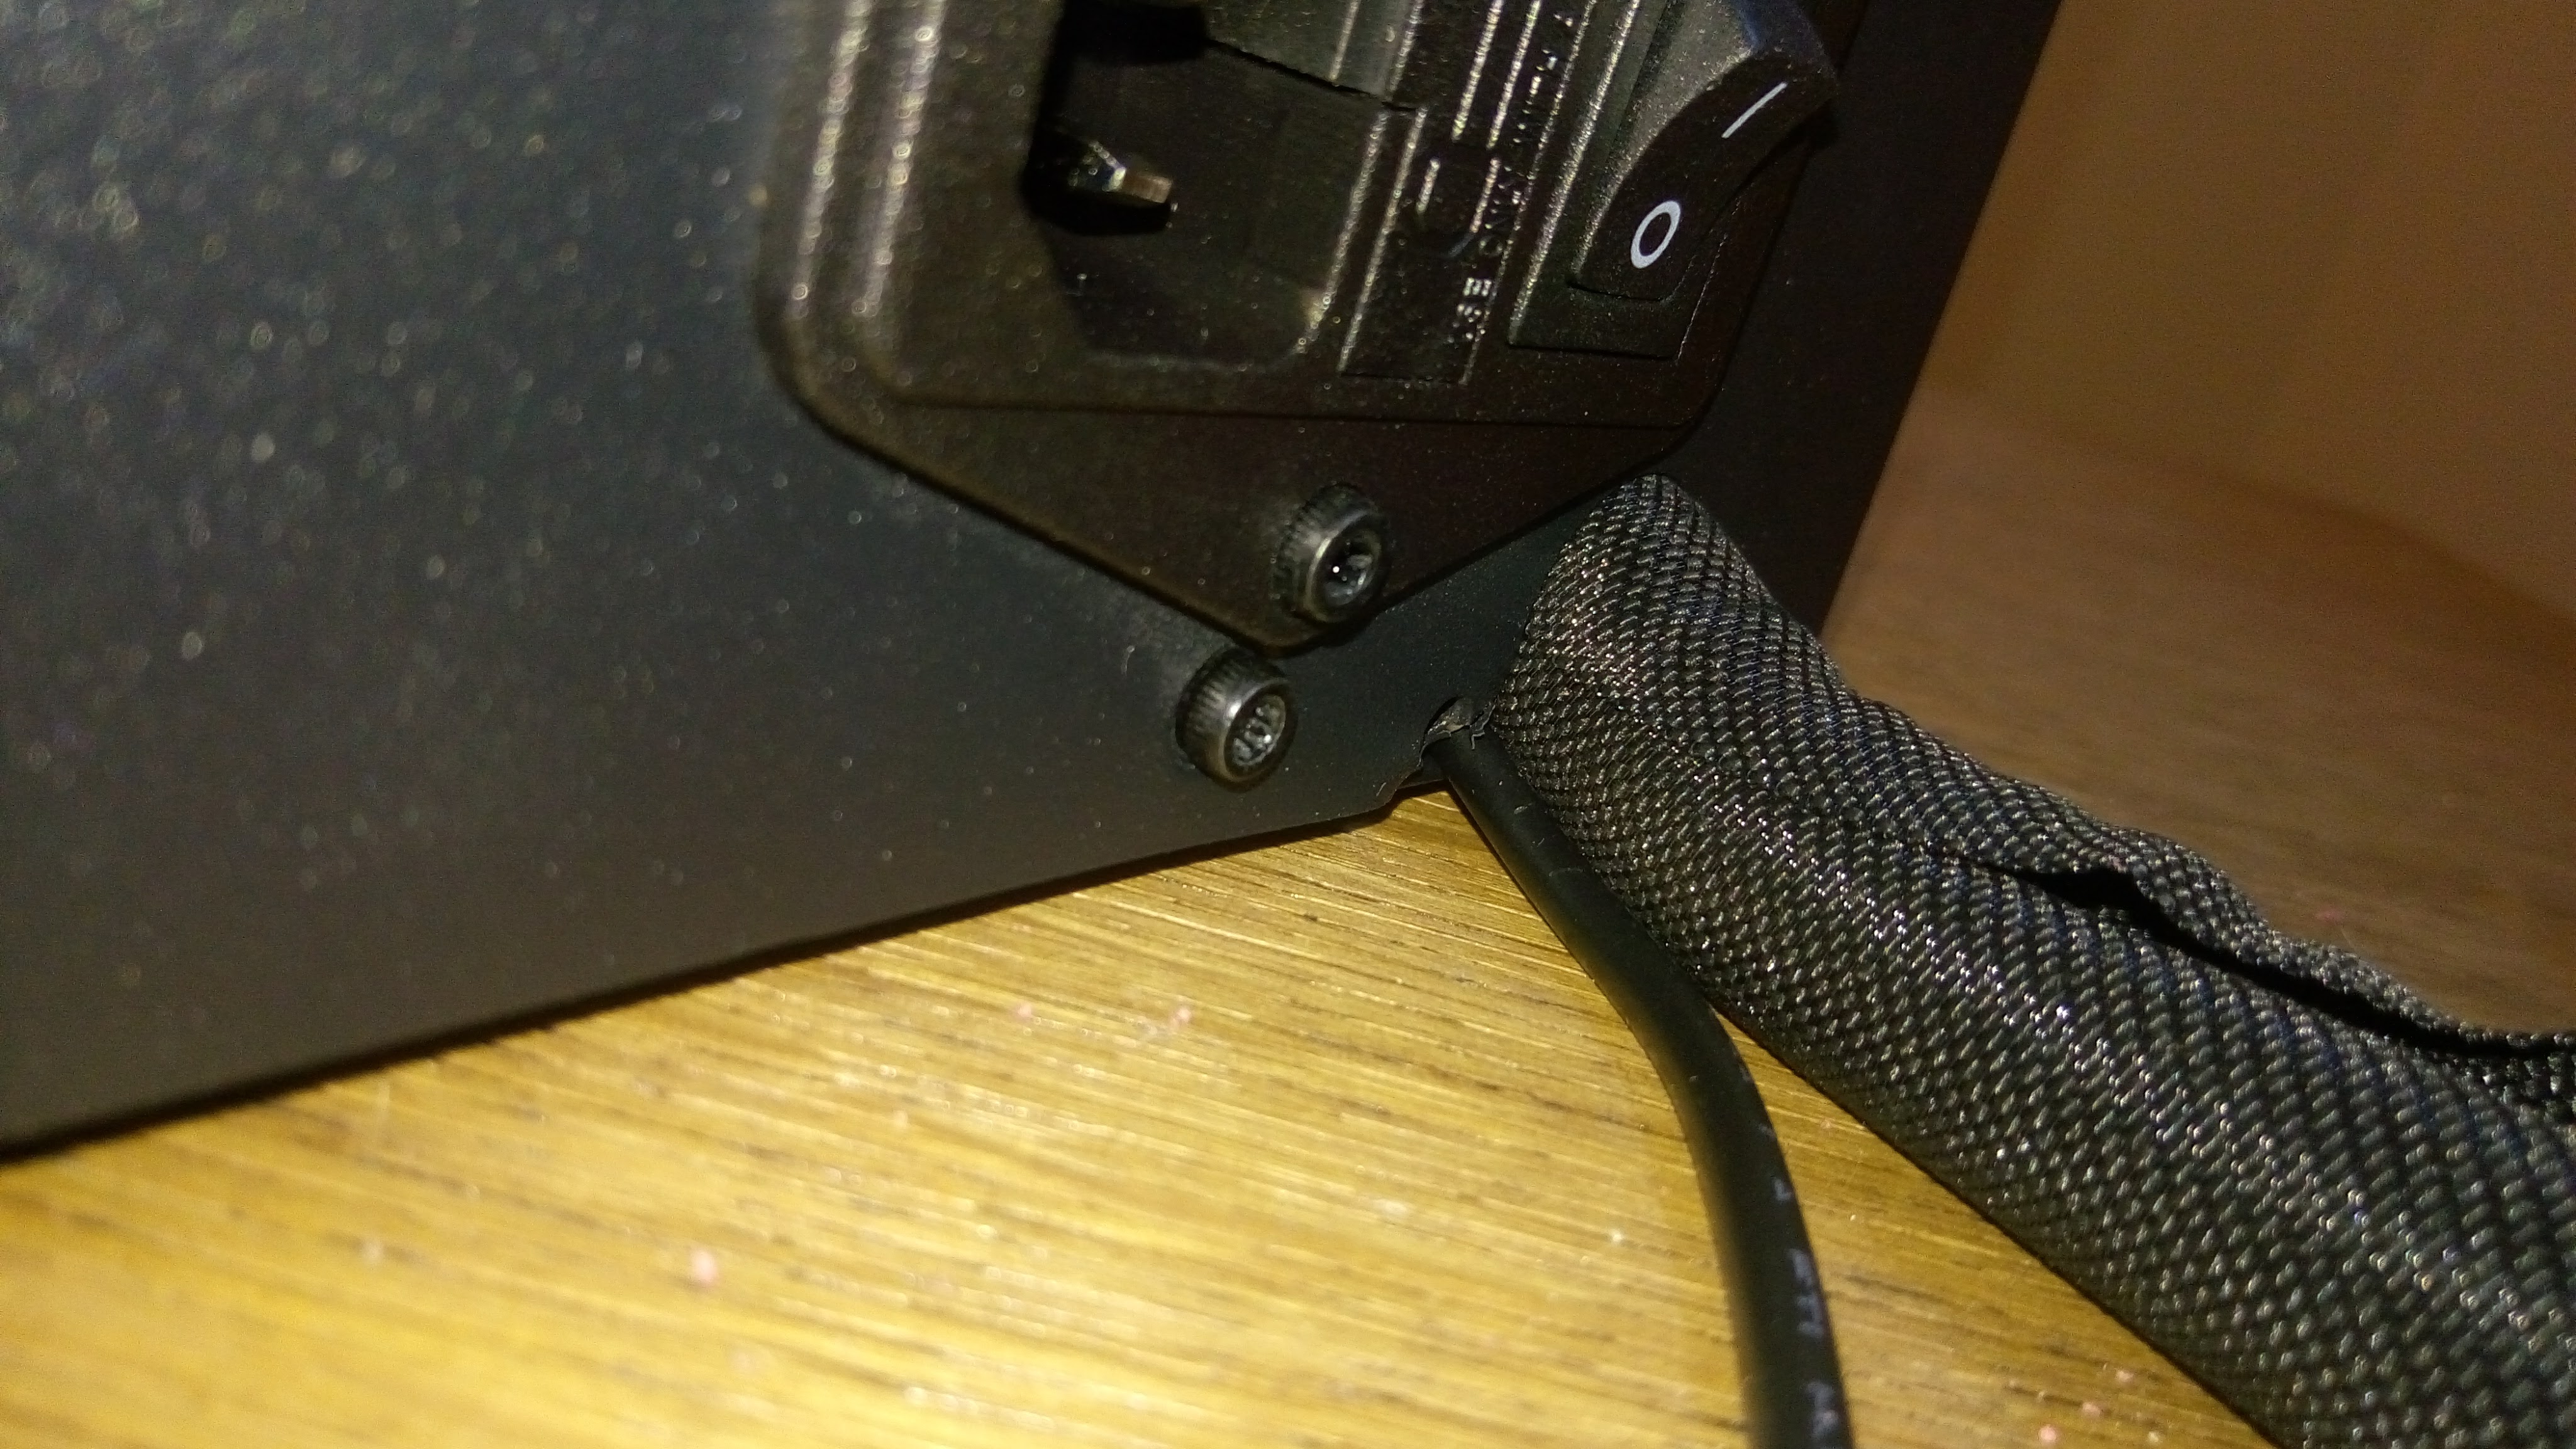
- USb cable routed out rear of control box

-
- folded over corner of rear panel to give room for extra cable