As one of my previous posts showed off, I made a wall mounted Home Assistant Dashboard. It was based off of the official 7″ Raspberry Pi Foundation touch screen. I designed the enclosure myself, mostly working from the touchscreen dimensions here and then some rough measurements on the rest of the BOM.
Bill of Material (BOM):
- Network drop
- Raspberry Pi 3B
- Official 7″ Touch Screen
- POE Adapter
- If you don’t have a POE network switch, you can use a POE injector
- 3D printed mount and enclosure
Assembly:
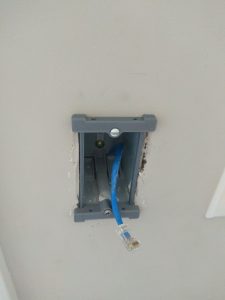
I had my house pre-wired for an alarm system, but didn’t get a company to come install an alarm system; this is where my door sensor wires came from. One of the other things they wired was a single gang box with an Ethernet cable for a future alarm panel. Unfortunately it’s only a single gang box so there wasn’t room to fit everything in side, that meant that I needed to design an enclosure that held everything within it.
Pre-wired alarm panel with blank cover
Pre-wired alarm panel without blank cover. See un-crimped Ethernet cable
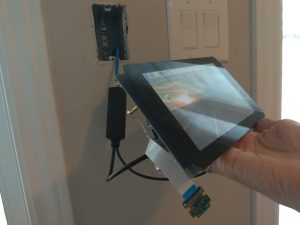
With a POE splitter, I plugged a Pi in and made sure that it was able to work with the splitter
Mounting bracket to hold an enclosure
The enclosure needed to be thick enough to hold everything since the single gang box had room for absolutely nothing. It ended up being about 40mm deep, just thick enough to contain the thickness of the POE splitter. I did need to modify the splitter so that the Ethernet and micro USB cables came out of the side, rather than the end. I also couldn’t mount the Pi to the provided spots on top of the display driver, it ended up being mounted to a secondary bracket that you can see coming up through the Pi mounting holes and behind the Pis micro USB port.
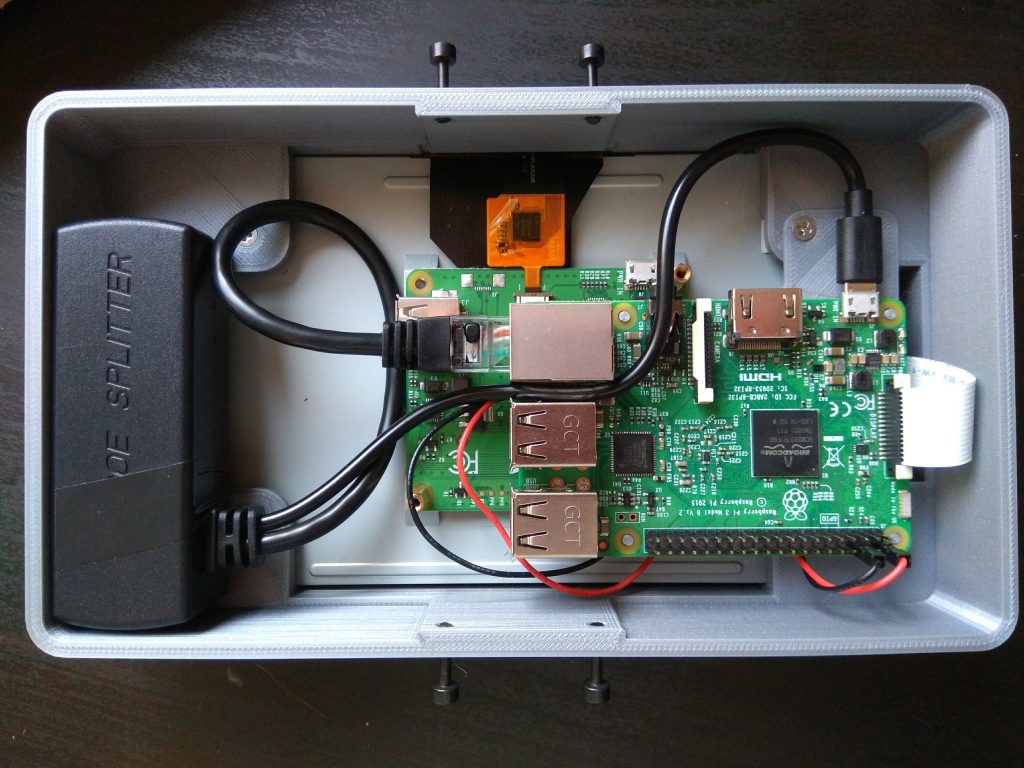
The Touch screen, Pi 3B, and POE Splitter placed within the 3D printed enclosure
Here it is mounted to the wall running a fresh install of Raspbian Stretch. For info on the software side to display Home Assistant, see my post here.
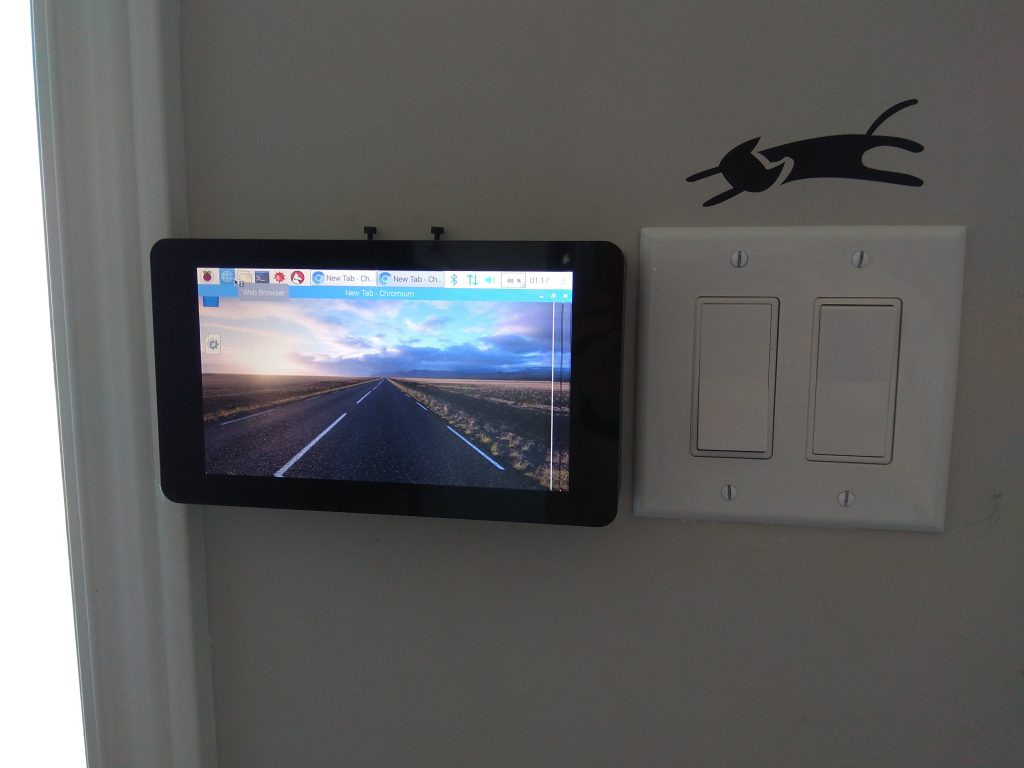
Finished installation
This post was roughly thrown together, for that I apologize. I may come back in the future and add some other details, maybe a view of the CAD model. I also plan on posting the enclosure and mount on Thingiverse or my Gitlab page. If anyone actual reads this, wants those files, and they’re not yet posted, please send me a message and I’ll get them up sooner than later. 🙂