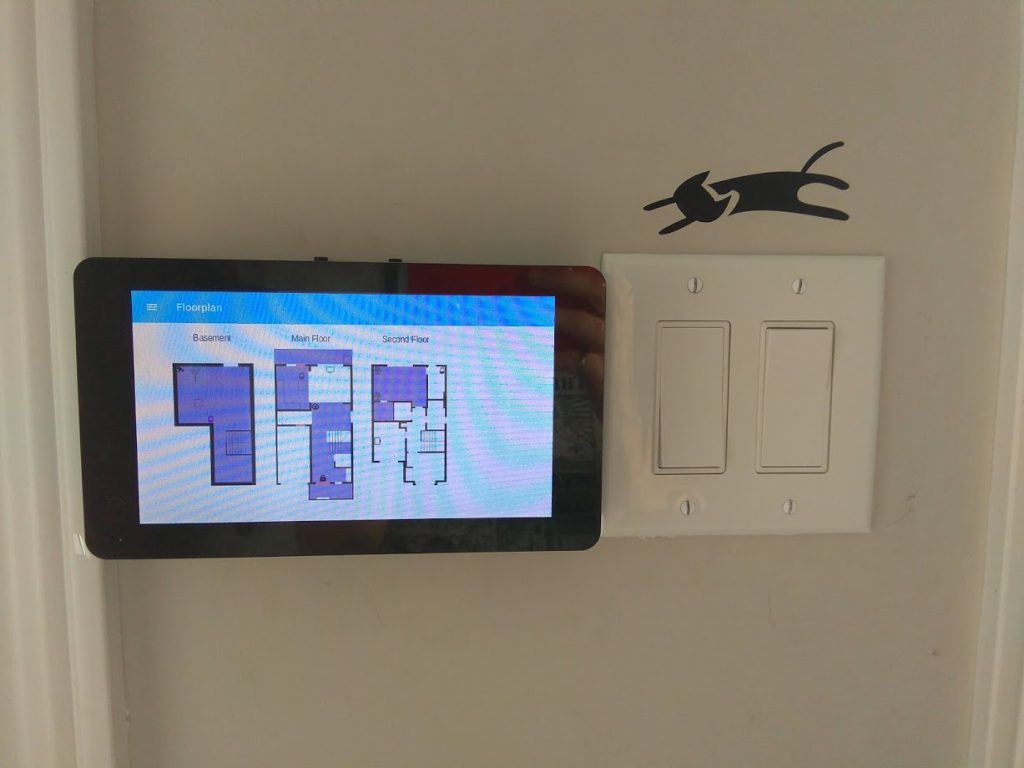
This post is coming out before the accompanying hardware post, which is a little backwards as it shows off the finished hardware… but oh well. This dashboard has been running for a few months, but unfortunately my SD card got corrupted and I didn’t have a backup. So now I’m actually documenting the set up and will be doing a backup of the SD card as well. 🙂

The software is pretty minimal, but I have some ideas on how to spruce it up in a future post. Essentially all that this is right now is a Raspberry Pi running Raspbian Stretch with a script to open my FloorPlan page on Home Assistant once it boots up. Realizing now that I never finished my post on the FloorPlan creation… oops. I’m sure I’ll get to it soon. Anyway, the website stays current on it’s own, so there is no need to program in a refresh rate.
From a fresh install of Rasbian, go to the terminal and go to the raspberry pi configuration:
sudo raspi-config
From here, we need to do the following:
- Change the default password
- Set your hostname
- I chose “HA_Dashboard”
- Enable SSH so that we can make changes on the fly without taking the dashboard off of the wall.
Once the Pi reboots, it’s best to do the rest of this over SSH since Kiosk mode kind of takes over and makes making future changes difficult.
Kiosk Mode:
Navigate to the autostart file:
cd ~/.config/lxsession/LXDE-pi
Make a backup of the existing autostart file:
cp autostart autostart_backup
Open the autostart file and replace the contents with those below, updated to include your Pi IP address:
nano autostart
@lxpanel --profile LXDE-pi
@pcmanfm --desktop --profile LXDE-pi
@xset s off
@xset -dpms
@xset s noblank
@sed -i 's/"exited_cleanly": false/"exited_cleanly": true/' ~/.config/chromium-browser Default/Preferences
@chromium-browser --noerrdialogs --kiosk --app=http://<Pi_IP_Address>:8123/floorplan --disable-translate
I borrowed the base of this from here, but needed to make a few changes for this use-case.
Finally we install unclutter so that the mouse is hidden:
sudo apt-get install unclutterBefore rebooting the Pi again, make sure you add it’s IP address to your trusted devices in the configuration file.
Once rebooted, the Pi will ask for login details. Instead click on “Log in with Trusted Network”. You’ll still need to say which user you are signing in with, I recommend making a default user rather than using an existing persons account. Click login and then save user credentials after which you should be greeted with the floorplan page in fullscreen. Now everytime the Pi reboots, this is exactly where it will end up.
That’s it for now, with any luck I’ll have the software update post out soon, and maybe even the hardware post. 🙂