I haven’t made much progress on this project, partly due to shifting priorities (I got a new smart doorbell) and partly due to frustrations with programming the ESP32 with microPython. I feel like I’m going insane, performing the exact same operations within uPyCraft would sometimes work perfectly and others do nothing. I still want to program this in microPython, but the litter box has been broken for far too long so for now I’m going to port my Arduino Nano code over to the ESP32.
To start, I installed the ESP32 board in the Arduino IDE by following this guide. To make sure it was working I tried to just uploaded the blink example but it failed to compile. Turns out the ESP32 board doesn’t have the “LED_BUILTIN” variable declared by default like a lot of dev boards, probably because the ESP32 dev boards on the market aren’t consistent, but I’m just speculating. After defining the “LED_BUILTIN” variable as GPIO 2, the code compiled no problem and uploaded successfully to the board. Right away the LED started to blink, so far so good!
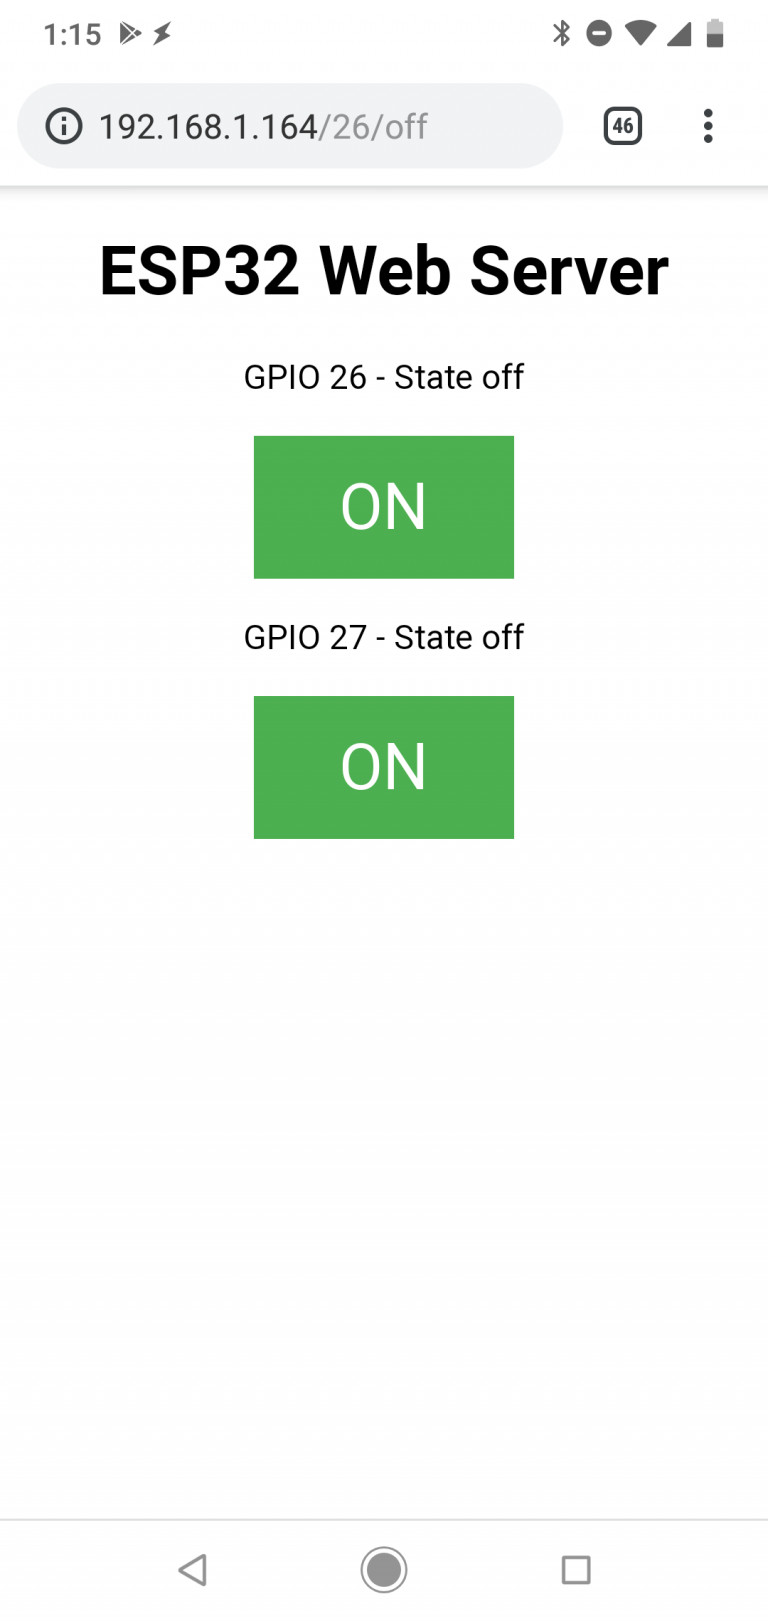
Luckily for me, the nice folks over at Random Nerd Tutorials; the people who’s microPython web server tutorial I followed previously, also made the same tutorial for using the Arduino IDE. I copied their code into a new sketch, hit upload… and nothing. The device is supposed to reset itself, but mine did not for some reason. I know this because the serial display wasn’t outputting anything. After pressing the “En” button on the ESP32, the serial terminal sprang to life and spit out the IP address of the board. Going to this address provided the following:
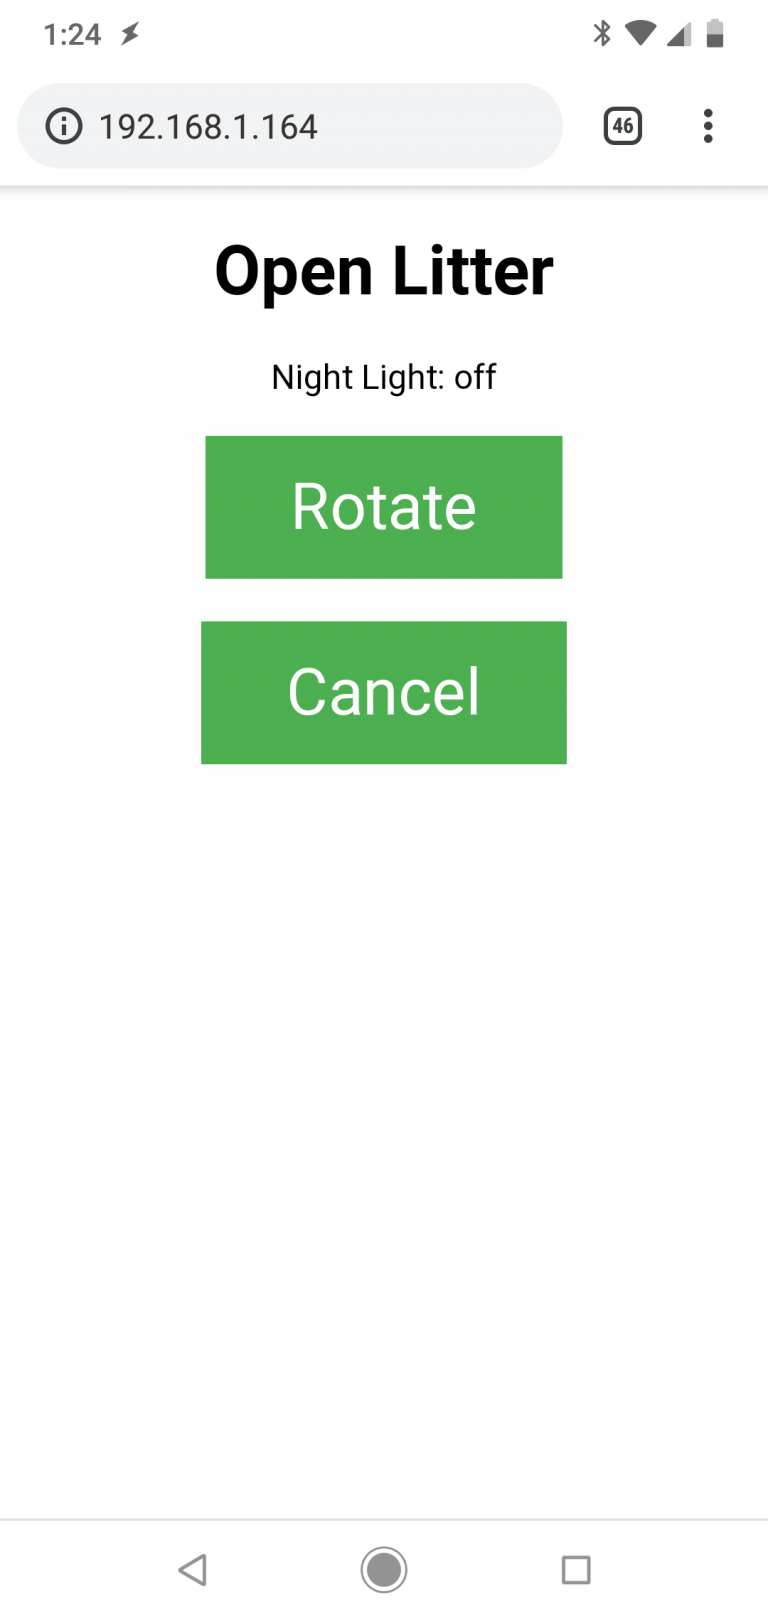
After a few tweaks to the code, it looks pretty much the same as the last mock-up I made:
So at this point I’m almost back to where I left off with microPython, except for the hostname has the default “espressif”. This is just as easy to fix in Arduino as it is in Python, with a slight (very frustrating) catch. Everything in every piece of documentation that I could find said to set the hostname, simply add the following line after the “WiFi.begin(ssid, password);” line.
 WiFi.begin(ssid, password);
  WiFi.setHostname("OpenLitter");
In reality, you need to define the hostname after the device successfully connects to the WiFi. Most examples include a while loop to wait until the device connects to the WiFi, and then it continues. Once connected, you’re free to set the hostname:
 WiFi.begin(ssid, password);
  while (WiFi.status() != WL_CONNECTED) {
    delay(500);
    Serial.print(".");
  }
  WiFi.setHostname("OpenLitter");
This took me a while to figure out through trial and error, hopefully it ends up saving someone else some wasted time googling.
And there we have it, 1 step backwards and 1 step forwards, exactly where I left off on this 6 weeks ago but this time programming in Arduino instead of microPython. Next time I’ll try to actually port my code from the Nano over to the ESP32.